Here in Charleston we’ve had a lot of rain lately and I’ve been called in to fix a lot of leaks. I was trained when I was kid by master craftsmen to prevent and repair leaks on Nantucket Island, a veritable proving ground for learning to make buildings water tight. High winds from the Atlantic drive rainwater under windows, doors, and siding, so if I omitted a piece of flashing or didn’t layer the tar paper properly, the house was going to have leaks, no doubt about it. “You have to think like water,” my mentor, Frankie Rose taught me, and that lesson has served me well over the past 30 years.
Water will always take the path of least resistance. This is why siding and roof shingles are lapped from bottom to top, so water will run down the building without coming in. This also explains why a water stain on a ceiling doesn’t necessarily mean the roof is leaking directly above it. It simply means the water worked its way in somewhere above the stain, and then ran down inside the wall until it found the lowest spot in the ceiling joists, sometimes almost horizontally.
So, when I’m looking for a leak, these are some of the main culprits:
1. Missing Water Barriers—a water barrier can be tarpaper, house wrap or flashings. Like the roof shingles and siding, it must be installed so its lapped bottom to top. Vertical elements like corner boards, windows and doors all leave the building vulnerable to leaks. Tarpaper splines must be applied beneath the vertical seams so it overlaps the shingles or siding at the bottom, giving the water that has worked its way in a way out.
2. Missing Flashing—a flashing is usually a bent metal piece used to direct water away from the interior of a home. It’s frequently installed at the top of windows and doors and aluminum eaves and rakes. I’m always surprised to find no flashing over windows and doors, or installed without a lap over the water barrier. To repair this condition I remove the siding, install the correct flashing, lap the water barrier, and reinstall the siding.
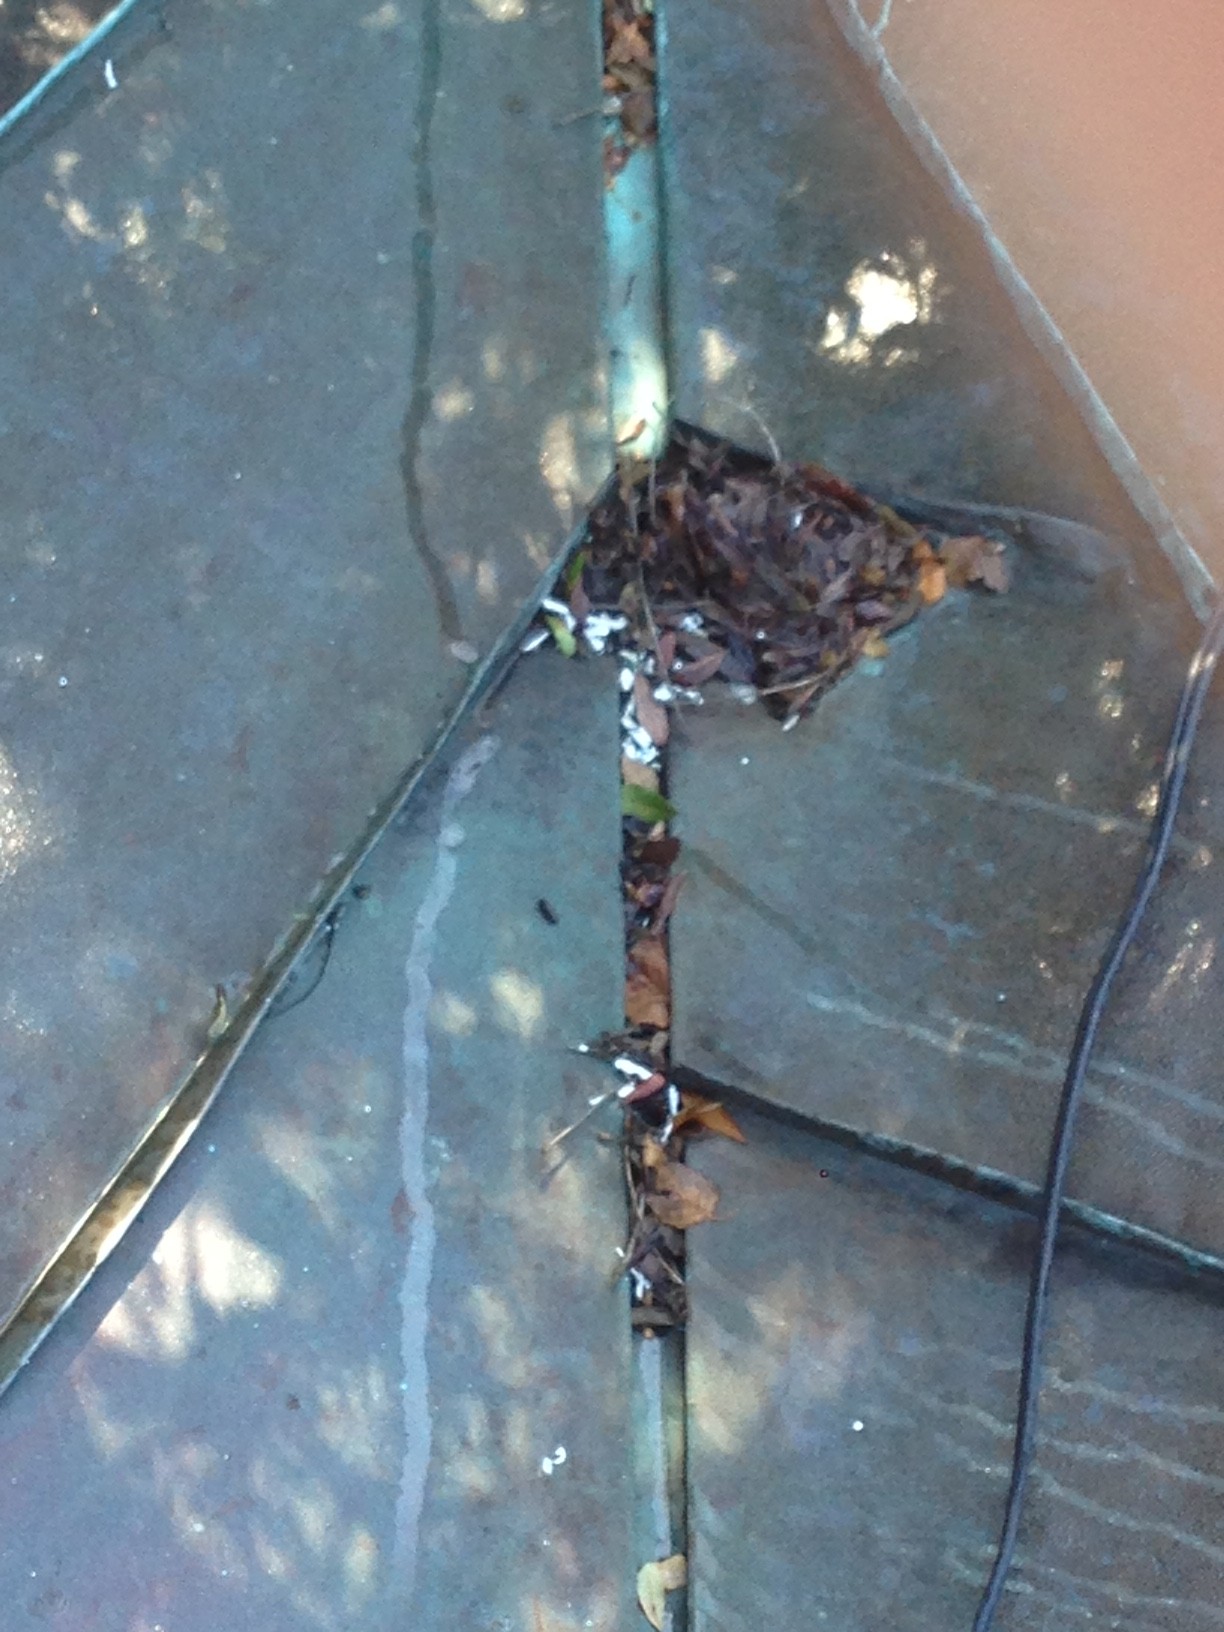
3. Leaf and Trash Dams—during a heavy rain, debris gathers and blocks the flow of water down the roof. The water backs up just like a dam and works its way in under the shingles and flashing. Typically this only happens during wind-driven rain at times of the year when there are a lot of leaves or pine needles on the roof. I remove the affected area and counter flash with rubber roof with welded seams.
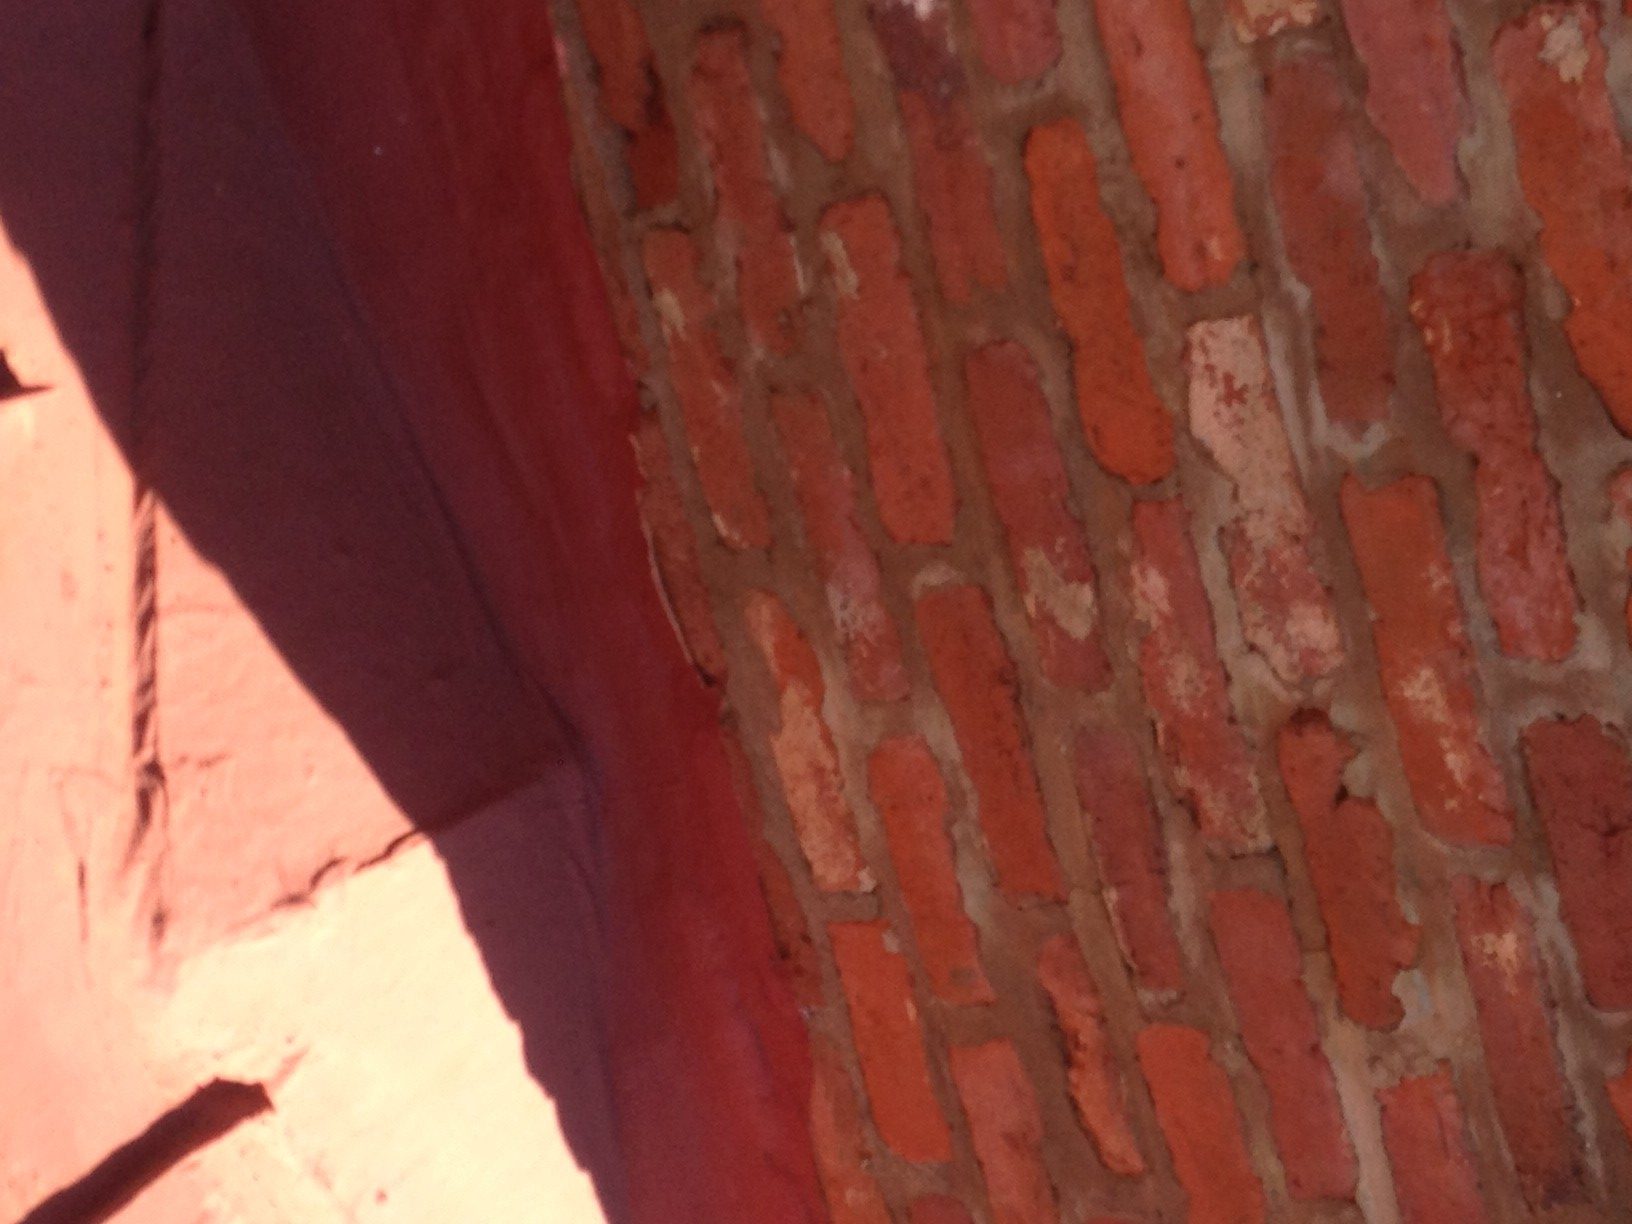
4. Misuse of Materials—I see all kinds of materials used to stop leaks from sponges and rags to Tupperware. I was called in recently to find a leak that was staining the ceiling in 3 rooms. There were 2 chimneys on the back of the roof. Upon investigation I discovered that a previous contractor had used an elastomeric membrane instead of metal flashings. Now a few years old, the membrane was peeling off and catching the water that ran down the brick until it worked its way inside. The solution was to install metal chimney flashings.
5. Worn Out Materials—when a homeowner boasts that their roof is 25 years old but has developed a leak, I tell them they got their money’s worth and it’s time for a new one. Another thing I see are plumbing roof boots at the vent pipes that wear out sooner than the roof. The seal dries and crack. It’s hard to believe how much water gets in around a pipe.
A final point—caulking is almost never the answer when it comes to repairing a leak. It doesn’t give the water a way out, and it sure does make a mess. Take the time to install the proper flashings and water barriers and you’ll be leak-free.